
Understanding LVP Floors
What Are LVP Floors?
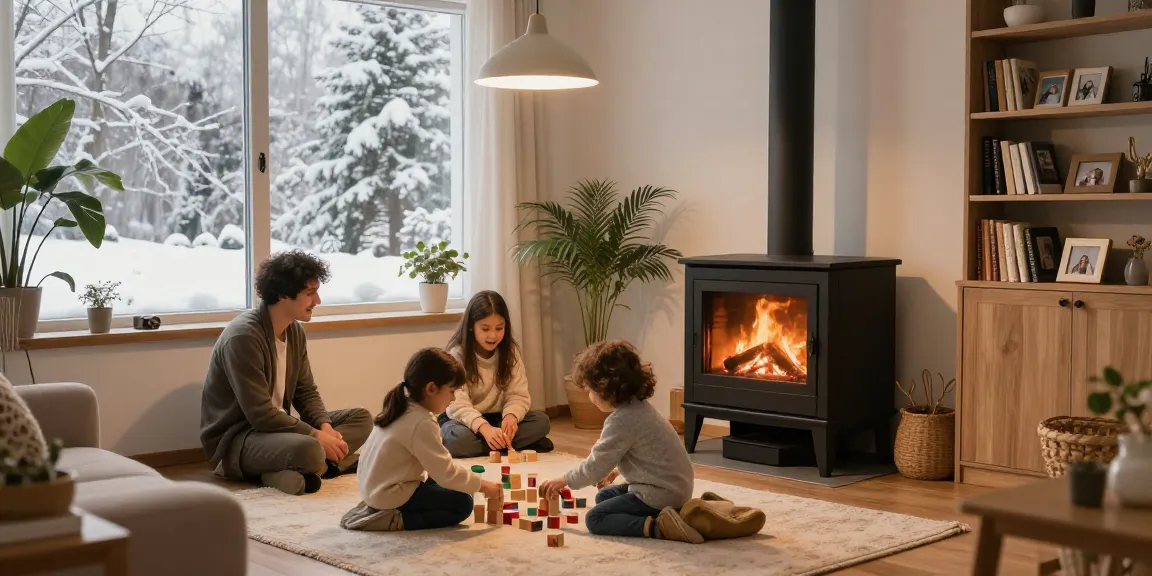
Luxury Vinyl Plank (LVP) floors have emerged as a popular alternative to traditional flooring solutions due to their remarkable aesthetics and robustness. Made primarily from polyvinyl chloride (PVC), these floors mimic the appearance of hardwood, stone, and other natural flooring materials while offering a range of practical benefits. LVP floors come in long, plank-like pieces, easily installed and maintained, making them a favored choice for residential and commercial spaces alike.
Often termed as the ideal choice for homeowners seeking both style and longevity, lvp floors offer a seamless balance between luxury and durability. Their waterproof and scratch-resistant properties further enhance their appeal, particularly in high traffic areas.
Characteristics of LVP Floors
LVP floors possess several unique characteristics that set them apart from other flooring materials:
- Design Variety: Available in a myriad of colors, patterns, and textures, LVP floors can mimic the visual appeal of natural wood or stone, allowing for versatile design options.
- Durability: Built for resilience, LVP floors are highly resistant to scratches, dents, and stains, making them suitable for busy households and commercial settings.
- Waterproof: Many LVP products are completely waterproof, making them ideal for kitchens, bathrooms, and basements where moisture is a concern.
- Comfort and Warmth: Unlike tiles and other hard materials, LVP provides a softer touch underfoot, and can also retain warmth, making it comfortable for walking.
- Easy Maintenance: Cleaning LVP floors is straightforward, requiring just regular sweeping and occasional mopping to keep them looking new.
Benefits of Choosing LVP Floors
Choosing LVP floors comes with several compelling benefits:
- Cost-Effective: LVP offers the luxurious look of high-end materials at a fraction of the price, making it a budget-friendly option for many homeowners.
- Easy Installation: Many LVP options feature a click-lock design, allowing for DIY installations without the need for glue or nails.
- Long Lifespan: When properly maintained, LVP can last for 15 to 25 years, making it a wise long-term investment.
- Environmentally Friendly: Many manufacturers use recycled materials, making LVP a sustainable choice for flooring.
Comparing LVP Floors to Other Flooring Options
How LVP Floors Stack Up Against Hardwood
When comparing LVP floors to hardwood, several factors come into play:
- Cost: Hardwood floors can be significantly more expensive, not just in materials but also in installation and maintenance.
- Maintenance: Hardwood requires regular refinishing and upkeep, while LVP’s maintenance is minimal.
- Durability: LVP is highly resistant to water, scratches, and fading, unlike hardwood, which can be damaged by moisture and heavy foot traffic.
Ultimately, while hardwood offers a timeless look, LVP floors present a practical solution without sacrificing style.
LVP Floors vs. Laminate Flooring
Both LVP floors and laminate flooring are popular alternatives to hardwood, but they have distinct differences:
- Materials: Laminate is made from composite wood, whereas LVP is designed from synthetic materials that provide better waterproof capabilities.
- Visual Appeal: LVP usually offers a more realistic appearance, effectively simulating wood and stone textures, while laminate can appear synthetic.
- Durability: Although both are durable, LVP holds up better against moisture, making it a superior choice for areas prone to spills.
The Cost of LVP Floors Compared to Alternatives
Cost plays a significant role in deciding between flooring options. Generally, LVP floors cost less compared to hardwood, with prices typically ranging from $2 to $7 per square foot. In contrast, hardwood can vary widely, often ranging between $5 to $15 per square foot, depending on the wood species. Laminate falls into a similar range as LVP, but LVP outperforms it in terms of durability and waterproofing.
Considering the long-term value and lower maintenance costs, investing in LVP can be very economical compared to other flooring alternatives.
Installing LVP Floors: A Step-by-Step Guide
Pre-Installation Preparations
Before beginning the installation process, ensure the area is thoroughly prepared:
- Acclimate the Materials: Allow the LVP to acclimate in the installation area for at least 48 hours before laying it down.
- Subfloor Assessment: Check that the subfloor is clean, dry, and level to avoid issues later on.
- Gather Tools: Necessary tools may include a utility knife, tape measure, spacers, and a tapping block.
Installation Methods for LVP Floors
There are generally two methods for installing LVP floors:
- Glue-Down Method: Best for larger installations where the flooring is bonded directly to the subfloor.
- Click-Lock Method: The most popular choice for DIY enthusiasts, where planks click together without the need for adhesive.
Regardless of the method chosen, it’s crucial to follow the manufacturer’s instructions for optimal results.
Finishing Touches After Installation
After installation, ensure a few finishing touches:
- Trim and Molding: Install baseboards or molding to create a finished look and cover any expansion gaps.
- Cleaning: Thoroughly clean the surface to remove any dust or debris from the installation process.
- Check for Gaps: Inspect the flooring for any gaps or issues, ensuring solidity and security of the planks.
Maintaining Your LVP Floors
Cleaning Recommendations for LVP Floors
To keep your LVP floors looking their best, follow these cleaning recommendations:
- Regular Sweeping: Dust and debris should be removed regularly to prevent scratches.
- Use a Damp Mop: For deeper cleansing, use a damp mop with a mild cleaner that is safe for vinyl.
- Avoid Harsh Chemicals: Steer clear of bleach or strong detergents that can damage the floor’s finish.
Common Issues and How to Resolve Them
Several common issues may arise with LVP floors, but most can be easily resolved:
- Scratches: Minor scratches can often be buffed out with a soft cloth and a vinyl floor cleaner.
- Water Accumulation: Wipe up spills immediately to prevent moisture from seeping into the seams.
- Expansion Gaps: Ensure adequate spacing around edges to allow for floor expansion and contraction.
When to Consider Professional Help
While installing LVP floors can be a rewarding DIY project, certain scenarios warrant professional assistance:
- Extensive Damage: Previous flooring issues might require expert evaluation and repair.
- Complex Installations: Areas with intricate layouts or custom designs may benefit from professional expertise.
- Minimal Experience: If you’re not confident in your skills, hiring a professional can ensure a perfect finish.
FAQs About LVP Floors
What Are the Key Advantages of LVP Floors?
LVP floors are affordable, durable, and waterproof. They offer a wide variety of designs that can emulate natural materials, making them versatile and attractive options for any space.
Can I Install LVP Floors Over Existing Flooring?
Yes, LVP floors can be installed over many existing flooring types, provided the surface is clean and level. However, check specific installation guidelines to ensure compatibility.
How Do I Maintain LVP Floors?
Maintaining LVP floors involves regular sweeping and occasional mopping with a damp cloth and a suitable cleaner. Avoid harsh chemicals to prolong their lifespan.
Are LVP Floors Waterproof?
Most LVP floors are waterproof, making them an excellent choice for moisture-prone areas like bathrooms and kitchens. However, check product specifications for confirmation.
What Is the Lifespan of LVP Floors?
LVP floors typically have a lifespan of 15 to 25 years, depending on the quality of the product and the maintenance level. Proper care will extend their durability significantly.